Take any printed image, whether it's cut from a newspaper or a glossy magazine page - in monochrome or color - and partner it with Liquitex mediums to create embedded acrylic transfers.
IMAGE PREPARATION
Images like newspaper, laser print and uncoated magazine pages will transfer directly without the need for photocopying. Other mages - photographs and coated magazine pages - need photocopying to make them suitable. Ink jet prints will not work, use laser prints instead and experiment with prints to see what works best.
If needed, make a photocopy of the original image, black and white or color, for best results
Place the photocopy, image side down, onto scrap paper and spray the back of the image with a light coating of spray adhesive - ensure your work space is well-ventilated and wear a facemask for this part
Flip the photocopy - image side up - onto a clean sheet of glass and press flat. You can use tape in place of spray adhesive, but bear in mind that the image won't lay flat once you've begun coating
APPLYING MEDIUM
Your image may be coated in two ways: brushing or pouring
Brushing
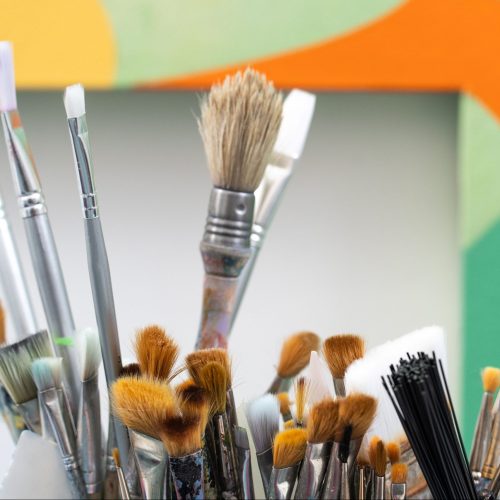
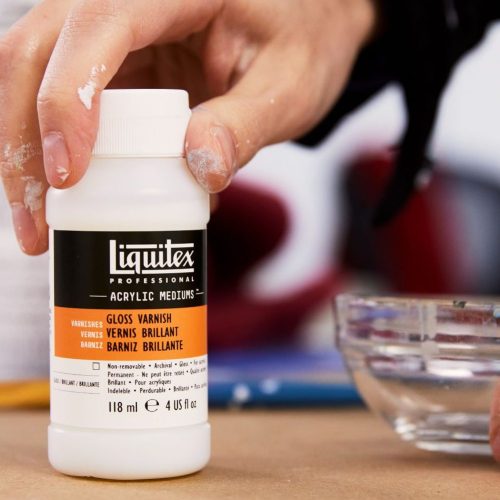
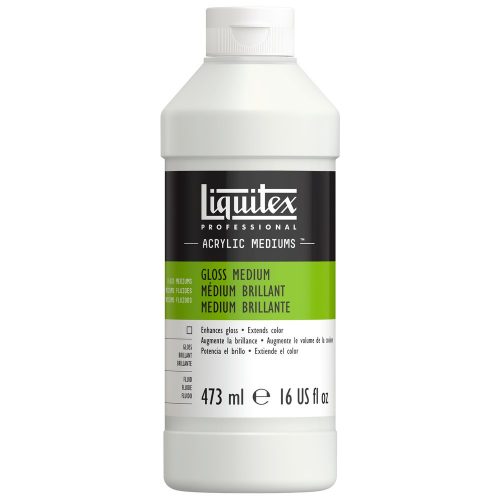
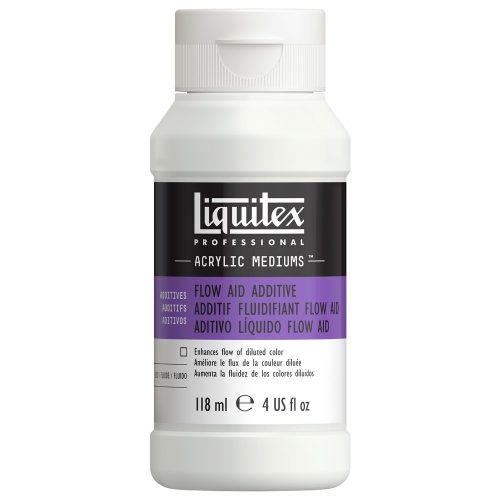
Use a 1/2"-2" wide, soft brush with Liquitex Gloss Medium. Minimize brush marks by using Gloss Varnish, or Gloss Medium mixed with diluted Flow Aid Additive (1 part Flow Aid : 20 parts distilled water)
Paint a thin coat over the complete image and allow to dry for 20-60 minutes, depending on your environment. When wet, the medium appears slightly cloudy, but will become transparent when dry
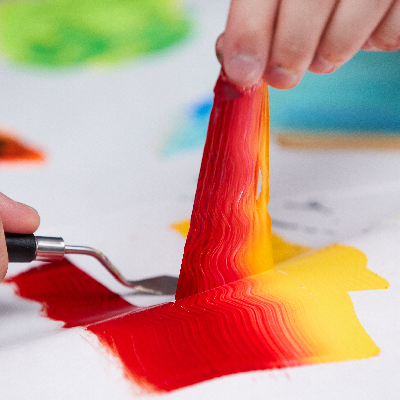
Repeat until the coating is thick enough to peel from the glass without tearing - 5-12 coats will give you a thickness of 1/16"-1/8" (we recommend no thinner, as it may be difficult to handle)
Pouring
Level the glass surface using a carpenter's level - this will give you a consistent, even thickness when dry
Build a 'dam' with masking tape around the image to contain the acrylic medium - use 4-5 layers of tape
Pour a thin layer of Gloss Medium over the image, spreading the medium with a soft brush whilst still wet - thick layers may result in cloudy transfers and shrinkage marks
Leave to dry for up to an hour and repeat steps with successive pours to build thickness
Allow to dry completely for 48-72 hours. The image is set once the medium appears transparent
To remove the image cut around the tape to separate it from the glass, then submerge in lukewarm water for 10-15 minutes (no longer than 20 minutes)
The medium will start to turn milky as it reacts to the water, then peel the paper from the image, use your fingers to gently rub off the top layer only
If there's any paper left behind, soak again in warm water and repeat until only the image remains
Leave to dry. Blot the image with kitchen/paper towel or a soft cloth, then place it flat between layers of wax paper and kitchen/paper towel, add a weight to the top and leave to dry
Check the image is completely dry after 24-48 hours
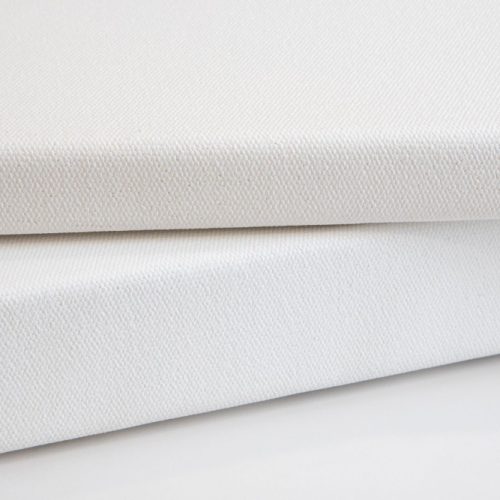
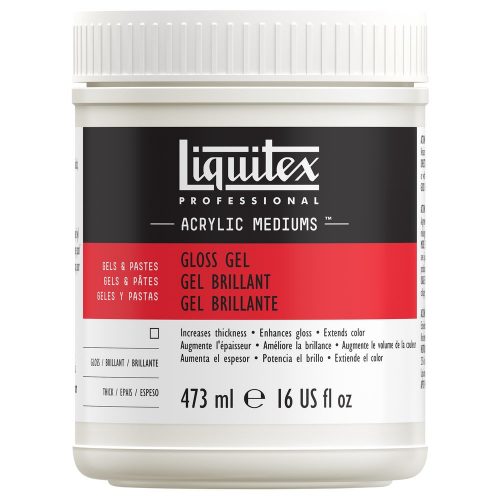
Select the support you wish to use, such as canvas, then with either Gloss Medium or Gloss Gel, coat the side of the image that will be affixed to the support
Working quickly, position the transfer onto the support and press down, cover it with wax paper and place a weight on top
Allow to dry for a further 24 hours
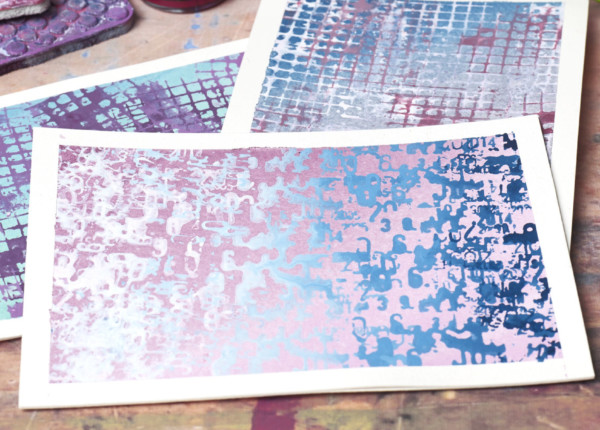
DIFFERENT EFFECTS
Opalescent effects - mix 5-10% Liquitex metallic/iridescent color into your Gloss Medium before applying to the image
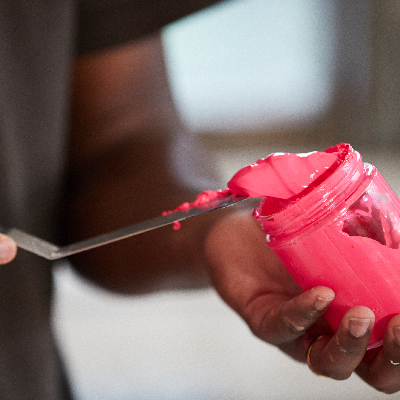
Opaque effects - use Gloss Gel/Heavy Gel in place of Gloss Medium. Use a palette knife to apply 1-2 coats, with each coat 1/16"-1/8" thick, allowing the first coat to dry thoroughly before applying the next (approximately 24-48 hours)
Texture effects - use a palette knife to apply 1-2 coats of Liquitex Natural Sand, Resin Sand or Glass Beads, following the same application directions as for gels. Or try mixing a medium like Black Lava with Gloss Medium. Using a soft brush or palette knife, mix 5-50% Natural Sand, Resin Sand, Glass Beads or Black Lava into Liquitex Gloss Medium - the more medium used, the more transparent and less textured the final transfer film will be
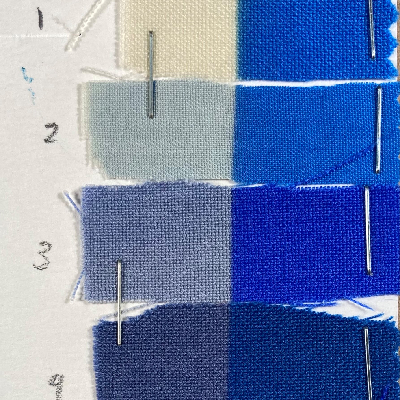
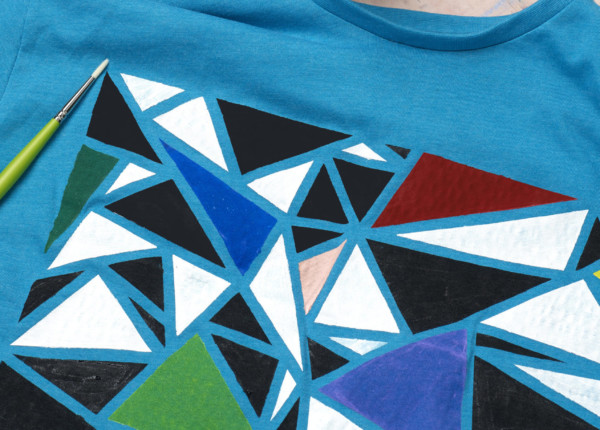
Surface effects - image transfers can be applied to pretty much any everyday surface so experiment with textiles, ceramics or glass
Want to make your mark? We’re always developing something new and would like to hear your thoughts. Answer 5 quick questions to help shape the future and be entered into a prize draw to win $100 of Liquitex products.