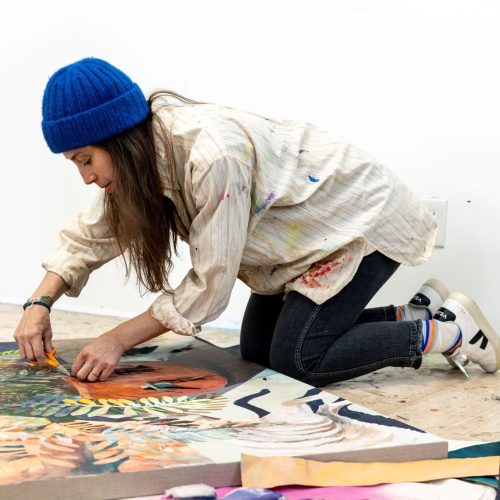
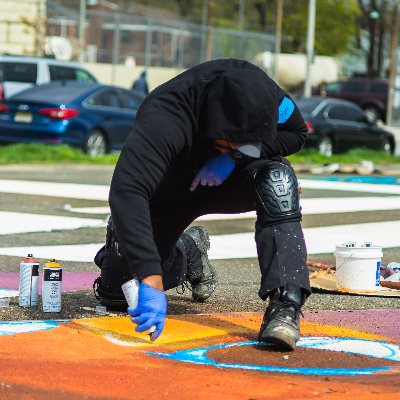
And did you know that the mural comes from the French word “mur”, meaning wall? Mural painting includes techniques such as fresco, encaustic, mosaic, stained glass and photography and many of these techniques can be seen throughout history. Whether you're painting on a large canvas and attaching it to a wall, or painting directly onto the wall itself, acrylic paints are highly versatile and durable for murals in exterior and interior settings.
SURFACES
- Masonry/plaster/brick/concrete walls
- Sheetrock
- Wood and board
- Metal
THINGS TO CONSIDER BEFORE PAINTING
- Do you have permission to paint on the wall?
- Is it intended to be permanent or temporary?
- Do you want to take it if you move? You could think about painting onto a canvas that can be stretched or stuck to a panel, then installed
- Is your subject matter suitable for the eyes that will see it?
- If it's a new wall, check the plaster/masonry isn't likely to expand or contract too much, crack or peel
- Is the surface structurally sound with no loose particles?
- Is it damp? Moisture will cause paint to peel from the surface
GENERAL SURFACE PREP
- First clean it to remove grease, wax and oil - use TSP (Trisodium Phosphate) or a citrus-based (more environmentally friendly) product mixed with warm water
- If the wall has been painted with oil paint or is peeling, strip all existing paint; if it's been painted with acrylic paint, sand the entire surface
- Remove mold or mildew with a stiff brush and a mixture of anti-mold cleaner or 1 part bleach to 3 parts water. Rinse twice with warm water and allow to fully dry
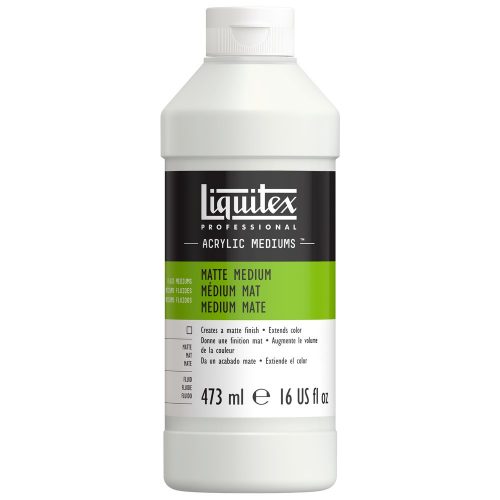
- Prep smooth surfaces by brushing on one coat or spraying on two coats of Liquitex Matte Medium; for rough surfaces, trowel on one to two coats of Liquitex Matte Gel. Allow to fully dry
- Choose a Liquitex Gesso from the range - thin it with up to 50% Matte Medium if needed. Super Heavy Gesso can be used to create a more textured surface
- Brush or spray apply - for spray application, thin gesso with a mixture of 50% Matte Medium and 50% distilled water. Don't over-thin with water as this will cause poor adhesion
- Wet sanding will produce a smooth ground but will make flexible surfaces brittle
SPECIFIC SURFACES PREP
- New wood - sand and seal with one coat of Matte Medium, then apply one to two coats of any Liquitex Gesso
- Painted wood - remove loose material by sanding or striping, seal with one coat of Matte Medium then apply one to two coats of any Liquitex Gesso
- New masonry - dry and cure, then apply Matte Medium for smooth surfaces or Matte Gel for rough surfaces. Then apply one to two coats of any Liquitex Gesso
- Painted masonry - remove loose material, clean, sand or strip, dry, cure and apply Matte Medium for smooth surfaces or Matte Gel for rough surfaces, then apply one to two coats of any Liquitex Gesso
- New sheetrock - apply an acrylic emulsion-compatible industrial sealer such as Aqualock
- Unprimed & painted metal - remove grease, dirt and solvents, sand surface, wash with a prep solution for the painted metal being used, then apply an acrylic emulsion-compatible primer such as Aqualock. Apply Matte Medium for smooth surfaces or Matte Gel for rough surfaces, then apply one to two coats of any
- Liquitex Gesso
ADHESION TEST
- To ensure proper adhesion, do a test on a surface similar before painting
- Apply the paint or medium to your prepared surface and leave to dry and cure thoroughly for at least 72 hours, depending on the temperature and conditions
- Score the surface with a sharp knife in a crosshatch pattern, apply masking tape firmly to scratched surface and firmly press then remove masking tape slowly. If any paint comes off with the tape, good surface adhesion has not been achieved. Either a different surface preparation is necessary or the particular support is not suitable for the paint or medium tested
PAINTING TIPS
- The ideal temperature for painting is 65°–75° F, avoid painting in temperatures below 50°F. Never work during the rain as you may trap moisture, hinder adhesion and cause clouding
- You can project your design onto the wall with a digital, slide, overhead or opaque projector, then traced it on to the surface. You can also scale and transfer the design using a grid system
- Drawings should be “fixed” with a spray coating of 50% Liquitex Matte Medium and distilled water
- Outside murals will be exposed to UV rays so choose paint made with lightfastness pigments, such as Liquitex
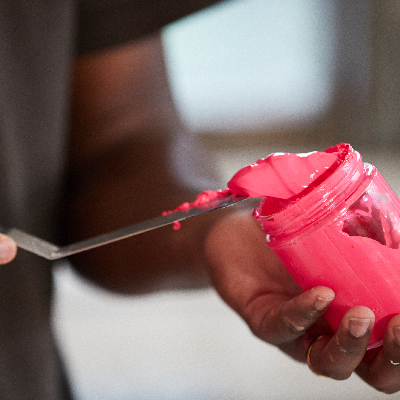
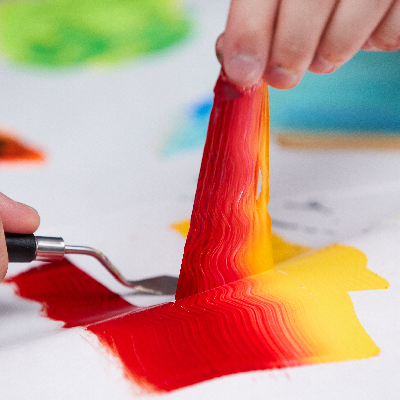
- Use Liquitex mediums to adjust your paint consistency, texture and sheen. Don't use only water for thinning, you need maximum film integrity for a lasting mural and too much water will weaken the paint film
VARNISHING
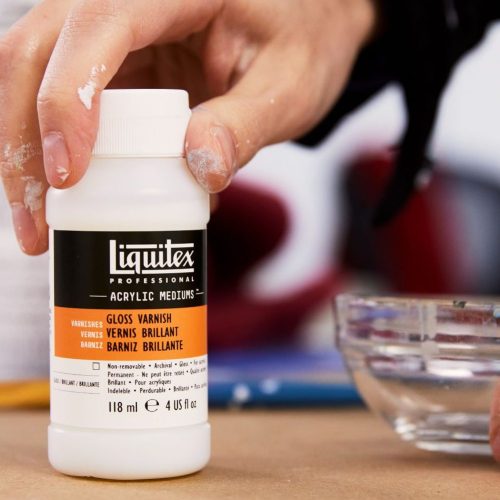
- After the mural is complete, a final protective varnish should be applied to protect it from weathering, pollution and dirt
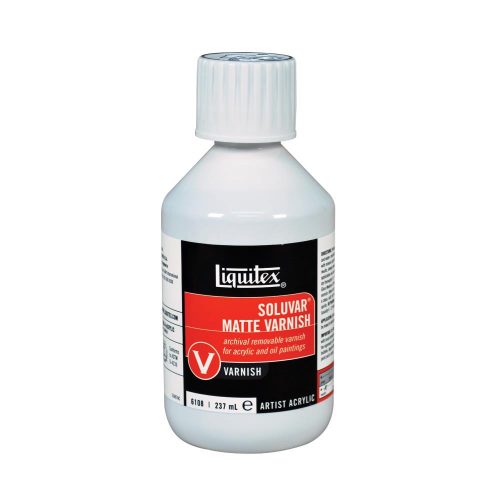
- Use a removable varnish, such as Liquitex Soluvar, to allow for future surface cleaning
- First apply one to two layers of Liquitex Gloss Varnish or Gloss Medium as a permanent isolation barrier - this separates the painting from the Soluvar Varnish and seals and protects it when the Soluvar is removed. Give the dry gloss surface a clean with a lint-free rag dampened with mineral spirits to remove any particles
- Then move onto the Soluvar application. You can intermix Gloss and Matte Soluvar Varnish to create your desired sheen. Matte contains matting agents that settle during storage, so before using gently stir with a wooden dowel or brush handle until completely re-dissolved, do not shake. Then apply one to two layers of
- Soluvar Varnish, leaving 24 hours between coats
- More information on application and removal of Soluvar can be found on the Soluvar product page on this site, or the dedicated Soluvar tips in this section